Last Updated on May 15, 2026 by admin
What This Is
Guests pick up a clear 9-oz portion cup, layer in 4-6 pre-portioned ingredients, and walk out with something that looks like it came from a specialty food shop. The whole build takes 10-12 minutes, appeals to adults and older teens, and requires nothing beyond a folding table and a cooler. Most shops run this as a self-serve station with one staff member on standby to answer questions and keep the trays topped off.
IMPORTANT: Be sure you are licensed to serve food and observe food safety practices!
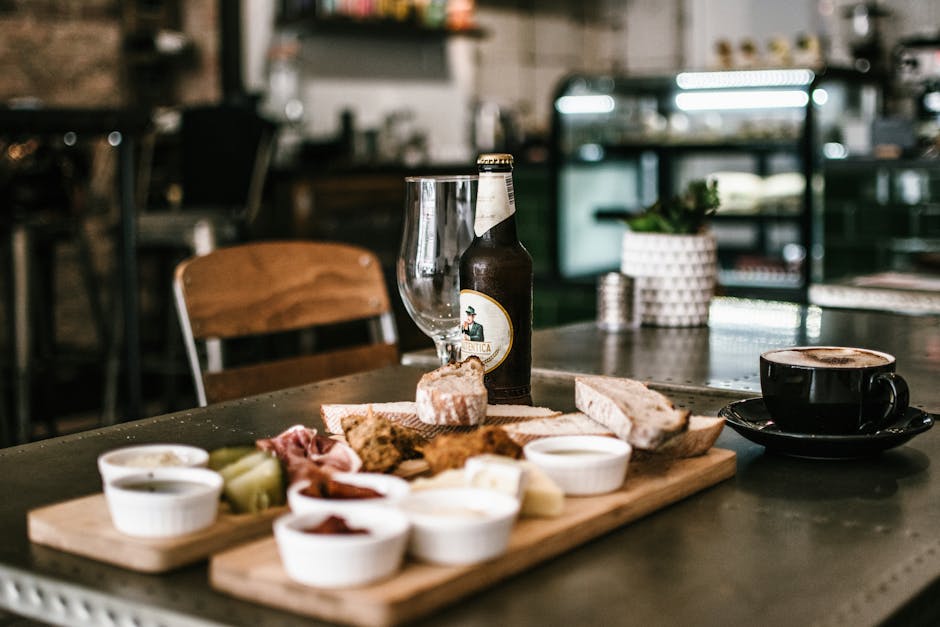
What to Stock: Meats, Cheeses, Crackers, and Extras
You don’t need a huge spread. Four or five choices per category is plenty — too many options actually slows guests down at the station.
Proteins (pick 3-4):
- Genoa salami, pre-sliced and folded into quarters
- Prosciutto di Parma, thin-sliced and loosely rolled
- Pepperoni cups (the small round ones that curl on their own)
- Hard soppressata, sliced thin
Cheeses (pick 3-4):
- Sharp cheddar, cubed to 3/4-inch
- Gouda, cubed or pre-sliced into triangles
- Pepper jack, cubed
- Babybel wheels (guests love unwrapping them — it’s a little moment)
Crackers and fillers:
- Raincoast Crisps or similar thin crackers, pre-counted into small parchment cups (5-6 per serving)
- Grissini breadsticks standing upright work great for visual height
- Rosemary crackers for a slightly fancier feel
Extras and garnishes:
- Castelvetrano olives or basic Kalamata, drained and portioned into small cups
- Honey in squeeze-bottle format — guests go crazy for a drizzle
- Dried cranberries or apricots, portioned ahead of time
- Cornichons, drained
If this is running during a Shop Hop, that DIY popcorn seasoning bar your neighbor shop is running pairs perfectly — guests can snack as they hop. You can see how other operators handle a savory no-cook station like that one if you want a second food station to round out your setup.
Station Setup: Trays, Tongs, and Flow Management
This part matters more than the food, honestly. A chaotic station kills the experience fast.
- Use a 6-foot folding table covered with a kraft paper runner or simple white butcher paper. Wipe-able and cheap to replace between rushes.
- Set ingredients in left-to-right build order: cup pickup first, then proteins, cheeses, crackers, extras, honey last. Guests move through like a line — it prevents the backtracking bottleneck.
- Pre-portion everything before the event opens. Individual parchment cups (2-oz soufflé cups work perfectly) for olives, dried fruit, and cornichons. Pre-fold meats the night before and refrigerate covered.
- Keep two sheet pans of backup ingredients in a cooler under the table. I rotate trays every 45 minutes whether they look empty or not — warm charcuterie is nobody’s friend.
- Set out tongs for every protein and cheese tray. One pair per tray, tied with a short piece of twine so they don’t migrate. This sounds fussy, but the tong chaos is real.
- Put a small printed card at each ingredient with the name and a “contains” note (dairy, pork, etc.). Simple index cards work fine.
- Station width should be no wider than 5 feet. Longer than that and guests can’t reach the middle without leaning over the food, which is a hygiene and flow problem.
This is the part most shops over-prep on ingredients but under-prep on layout. Get the flow right first, then worry about whether to add a fifth cheese.
Packaging the Cup So It Travels Home Beautifully
The cup is the whole aesthetic here, so don’t cheap out on it.
Clear PET plastic cups in the 9-oz or 12-oz size are the standard. Pair them with a clear dome lid so guests can see the layers. Stands for the cups (small circular holders) let guests set them on the counter while they’re building without the cup tipping — these are inexpensive and make the station look polished.
Once a guest finishes their build, have a small roll of washi tape and a Sharpie at the end of the station so they can label their cup with their name or a little note. It takes 10 seconds and it’s the kind of small touch that people photograph and post.
Wrap the finished cup in a small square of cellophane tied with a 6-inch ribbon if guests want to take it as a gift rather than eating on the spot. Pre-cut ribbons in your shop’s colors the night before — it’s about 20 minutes of prep for a detail that genuinely elevates the presentation.
If guests are eating on the spot, set out a small stack of cocktail napkins and a few wooden picks. That’s all they need.
Tips & Variations
- Run a “sweeter” cup option alongside the savory: mini chocolate pieces, dried cherries, Marcona almonds, a small square of honeycomb. Some guests don’t eat pork and this gives them a real alternative.
- I always set out one “completed example” cup at the start of the station so guests know what they’re building toward. It prevents the “wait, how does this work?” slowdown at peak times.
- The honey drizzle is the biggest surprise hit every time. Keep two squeeze bottles out — one always runs low faster than you expect.
- If you’re running this during a multi-shop hop, a small branded sticker on the finished cup lid is a nice touch. Guests carry it through the other shops and you get walking advertisement.
- Biggest failure mode: not pre-portioning the olives and cornichons. Guests with tongs in a shared brine jar is a mess within 20 minutes. Pre-portion everything wet into individual cups the morning of.
- Vegetarian guests will feel left out if proteins are the first thing they see. Consider leading with cheeses and crackers in the build order so the station reads as inclusive from step one.
- For a seasonal twist in fall, swap dried cranberries for candied pecans and add a small cup of fig jam. Swap the honey for a caramel drizzle option. Same station, completely different feel.
If you’re thinking about running a second non-food station alongside this, a mini terrarium kit is a proven companion — it’s hands-on, zero food safety concerns, and finishes in about the same time window.