Last Updated on May 12, 2026 by admin
What This Is
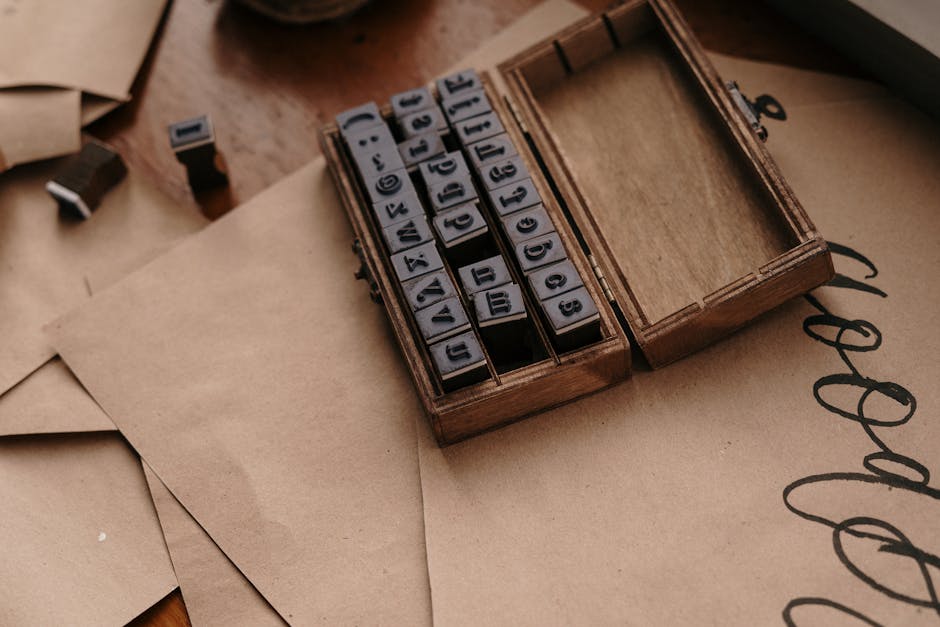
Guests pick from a tray of pre-carved foam letter stamps, compose a short word or name on a plain canvas tote, and press it in fabric ink. Done. Most guests finish in 15 minutes, which makes this a great drop-in during Shop Hop foot traffic. It skews toward teens and adults, though kids around age 8 and up handle the stamps just fine with a little guidance. No equipment beyond stamps and ink — which means even a gift boutique, bookshop, or home goods store can pull this off for the week.
Why Foam Stamps Beat Vinyl for a Quick Drop-In Make-and-Take
Vinyl cutters and heat presses are great tools. But they require an operator at the machine, a wait time for cutting and weeding, and a learning curve that doesn't work when 30 people walk in on a Saturday afternoon. Foam stamps flip the whole equation.
Guests do the work themselves. There's no queue for a machine. And the results — slightly imperfect, handmade-looking, clearly one-of-a-kind — are exactly what people want right now. That "hand-stamped" texture reads as artisan, not amateur.
Pre-carved alphabet sets from brands like Speedball or Plaid Crafts run in budget-friendly multi-packs, and foam block stamps hold up through a full weekend of use without degrading. I've run a similar station for two consecutive Shop Hop days and the same stamp set came out clean on day two with minimal cleaning between guests.
Choosing Your Stamp Library: Letters, Icons, and Seasonal Motifs
Your letter stamps are the core, but a few well-chosen motifs make the station sing. Think about what your shop already sells or what your neighborhood is known for. A wildflower silhouette, a simple star, a small heart — one or two accent stamps give guests a way to frame their word without needing design skills.
For the alphabet, you want at least two complete sets of uppercase letters so guests aren't waiting on the letter "E." A single 26-letter foam set costs very little and won't survive a weekend if it's the only one. Stock extras of the high-frequency letters: E, A, S, O, L, N. Those are the ones that disappear into someone's name every time.
Seasonal motifs are worth the small investment too. If you're running this in the fall, a pumpkin or leaf stamp adds a reason for guests to come back in spring for the floral version. That's a repeat visit baked into the concept.
Fabric Ink vs. Acrylic Paint: What Stays on Totes Without Heat Setting
This is the part most shops get wrong. Standard acrylic craft paint — the kind from a 2-oz. bottle of Apple Barrel or Folk Art — will crack off a canvas tote after two or three washes unless it's heat set. Fabric-specific ink pads like Ranger Archival Ink or Speedball fabric ink are formulated to bond with natural fibers without a heat press step.
The practical difference for your station: fabric ink pads are cleaner to use (no brush loading, no dripping), they dry faster, and guests don't need gloves unless they're heavy-handed with the pressure. Archival Ink in black is the workhorse color — it photographs beautifully and reads well on natural cotton.
If you want color options, limit them to 4 or 5 pads max. Too many choices slow guests down and increase the chance of color mixing accidents on the stamp faces. Stick to one dark neutral, one warm tone, one cool tone, and maybe one seasonal pop color. That's plenty.
One failure mode I see constantly: guests press too hard and the ink bleeds under the stamp edges, especially with letter stamps that have thin serifs. Fix it by putting a piece of cardboard inside the tote before stamping — it creates a firm surface and prevents bleed-through to the back panel too.
Laying Out the Station So Guests Can Compose Their Design Fast
Set up a long table with a planning zone on the left and a stamping zone on the right. In the planning zone, lay out the stamp trays and a sheet of scrap paper so guests can test their layout before committing to the tote. That scrap paper step saves more finished bags than anything else I've tried.
The stamping zone should have one tote per guest, flat on a craft mat or piece of felt. A felt pad under the tote gives just enough give to get a clean impression without slipping.
Here's the flow:
- Guest arrives, picks up a blank tote (natural cotton, 6 oz. or heavier — anything lighter and the ink bleeds through fast).
- They head to the planning zone, lay out their letters on scrap paper, and test the stamp pressure once or twice.
- They move to the stamping zone, slip the cardboard insert inside the tote, and stamp their design.
- Finished tote goes to the drying rack — see the next section.
Keep the alphabet trays sorted in A-to-Z order and put a small printed sign above them that says "test on scrap paper first." Guests who skip that step are the ones who ask for a second tote.
Drying and Folding Finished Bags Before Guests Walk Out the Door
Fabric ink pads dry to the touch in about 5 minutes on cotton, but they smudge if something rubs across them in the first 10. Set up a simple drying rack — a wire dish rack works perfectly — and ask guests to leave their tote for at least 8 minutes before handling.
While they wait, that's your window. They're standing in your shop, looking around. Make sure there's something worth looking at nearby.
Once dry, fold the tote with the stamped face out so guests can admire the design while they carry it to their car. A small tissue paper layer inside the fold prevents any transfer if the ink is still slightly tacky. Kraft paper bags work too if you want to give guests something to carry the tote in — it extends the "unboxing" moment and makes the whole thing feel more like a real product.
One note: fabric ink usually says it needs heat setting with an iron for full wash permanence. You can either offer a quick iron-setting station (a travel iron takes 30 seconds per tote) or include a small printed care card that tells guests to iron the design at home before washing. Most guests appreciate the honest instruction and it sets realistic expectations.
Tips & Variations
- Offer a "two-word limit" rule at the station — it keeps designs clean and speeds up the flow considerably.
- I always set out a tray of scrap cotton fabric squares alongside the tote paper. Guests use them to test colors without wasting tote bags.
- For a seasonal twist, swap in a holiday motif stamp and call it a gift-bag station. A stamped tote as a reusable gift bag is an easy upsell angle.
- Keep a damp baby wipe at each stamping zone for quick stamp cleaning between colors. Dry paper towels smear ink around and damage foam edges.
- If your guests skew younger, pre-stamp a simple border or frame on each tote before the event — kids then stamp inside the frame, which reduces misaligned letters and gives even hesitant guests a confidence boost.
- For a pressed flower bookmark station or other quick drop-in craft ideas that pair well with a tote bar, it's worth building a small "craft corner" where guests can do two activities back-to-back.
- The biggest operational mistake is under-ordering totes. Order at least 50% more than you think you'll need. Running out of blanks mid-Saturday is a real buzzkill and a missed sale.