Last Updated on May 7, 2026 by admin
What This Is
Guests blend recycled paper pulp embedded with wildflower or herb seeds, press it into a card-sized mold, and walk out with a handmade card they can mail or plant directly in the ground. It takes about 20 minutes per guest, works for ages 6 and up with minimal help from staff, and the finished card air-dries flat overnight at home. Most shops run this as an open-format station rather than timed windows, which keeps foot traffic moving during a shop hop without a bottleneck.
Prepping the Pulp Before Your Event Opens
This is the part you do the night before or first thing in the morning. It's not hard, but it sets up everything else.
Get some plain white or natural brown recycled paper — think construction paper, egg carton pulp, or paper grocery bags torn into small pieces. Soak it in warm water for at least 4 hours, then run it through a blender until you've got a smooth, oatmeal-like slurry. That's the pulp base.
You'll need:
- Recycled paper (plain construction paper or paper grocery bags, torn into 2-inch pieces)
- A blender — dedicated to craft use, not your kitchen one
- A large plastic bin or bus tub, at least 12 inches deep
- Mold and deckle frames sized to 4×6 inches (one set per station)
- Mesh window screen cut to fit the mold, if you're making DIY frames
- Seed packets: wildflower mix, basil, chamomile, or native prairie seed blends
- Spray bottles filled with water
- Felt or wool pressing cloths, about 6 per station
- Sponges for pressing out water
- A drying rack or a flat tray lined with a dish towel
Keep the seeds separate from the pulp until guests add them. Pre-mixing seeds into a big communal batch sounds efficient, but the seeds settle unevenly and you get patches with almost nothing in them. I made that mistake at my first station and the cards came out looking sparse.
Running the Station: From Wet Pulp to Pressed Card in 20 Minutes
1. Set your bin of blended pulp on a table at a height kids and adults can both reach comfortably — about 34 inches works for most.
2. Show the guest how to submerge the mold and deckle together, scoop up a thin layer of pulp, then lift straight up. The mesh catches the pulp; the water drains through.
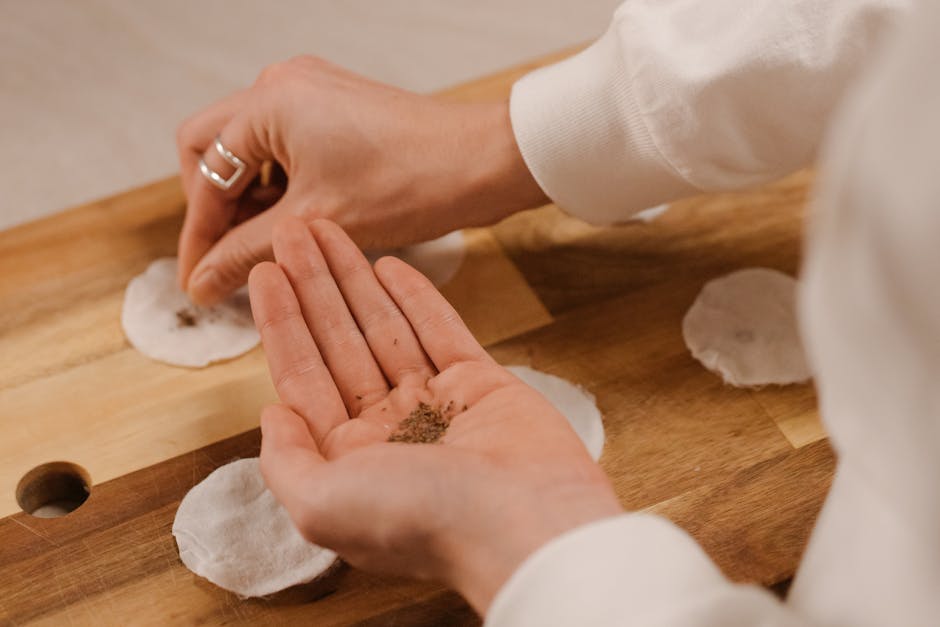
3. Let the guest sprinkle seeds directly onto the wet pulp layer while it's still in the mold. About half a teaspoon is plenty. Gently press the seeds in with a fingertip so they're embedded rather than sitting on top.
4. Flip the mold onto a pressing cloth. Press a sponge firmly across the back to pull out excess moisture. Lift the frame away slowly — the card should release cleanly onto the cloth. If it tears, the pulp layer was probably too thin; add a second scoop and try again.
5. Guest writes a quick message on a small paper flag or attached notecard, or decorates the wet surface with pressed dried flowers (this is a great upsell if you sell dried botanicals).
6. Staff wraps the damp card, still on its felt cloth, in a flat clamshell box or a folded piece of cardboard with rubber bands. The guest takes the whole thing home and lets it dry flat for 24 hours.
This is the photo moment — the card on the felt cloth, the pressed seeds visible, often with a botanical pressed on top. Put a small framed sign near the station that says "photograph your card before it dries" and guests will do it without prompting.
Choosing Seeds That Work for Wisconsin Climates and Gardens
Wisconsin's USDA hardiness zones run 3b through 6a depending on the county, so not every seed packet you find on Amazon is going to perform for your guests. Stick to seeds that germinate reliably in cooler spring soil — that's what most people plant when they finally pull out their card from the drawer in April.
Good bets for Wisconsin gardens: wild bergamot (Monarda fistulosa), black-eyed Susan, chamomile, sweet basil, and borage. All of these germinate at soil temps around 60-65°F, which is achievable in a Wisconsin May without a heat mat. Avoid tropical herbs like lemongrass or anything that needs a 70-day head start indoors — that's too much homework for a card that should feel effortless.
Source locally when you can. Prairie Moon Nursery out of Winona, Minnesota ships regionally and carries native Wisconsin wildflower seed varieties that come with strong germination rates and clear planting instructions — which matters because those instructions will go on your packaging insert.
Packaging and Instruction Cards That Complete the Experience
The damp card goes home as-is, but guests need to know what to do with it. A small printed instruction card tucked into the clamshell box does the work for you. Keep it to four lines: let it dry flat, peel it off the felt cloth after 24 hours, plant it in a sunny spot once frost danger has passed, and water gently.
Print the cards yourself on a home laser printer — a single 8.5×11 sheet yields 8 instruction cards when cut down to 4×2.5 inches. Add your shop's name, Instagram handle, and the seed variety inside the card so guests remember where they made it. That little detail is what gets you tagged when the seeds actually sprout in someone's backyard in late June.
For packaging, plain kraft clamshell boxes (4×6 inch, about 25 count per sleeve) stack neatly and feel intentional without looking overwrought. Tie with a piece of jute twine and you're done. A small paper tag with your logo is the only branding you need.
If you want to offer a botanical add-on, set out a tray of dried lavender, chamomile flowers, or pressed fern fronds and let guests press one into the wet card surface before it goes in the box. It costs almost nothing to stock and it photographs beautifully — which means more organic social posts from your guests after the event.
Tips and Variations
- Don't pre-mix seeds into the communal pulp bin. Seeds sink and cluster. Guests get better results (and more ownership over the card) when they add seeds themselves.
- Pre-blend two or three gallons of pulp the night before. One gallon yields roughly 30-35 cards at a medium thickness. Running low mid-event is a real problem; I keep a second blender batch in the back fridge, ready to top off the bin.
- If your shop doesn't have a utility sink nearby, set up a "dump bucket" at the station for guests to drain excess water. Pulp poured down a bathroom sink will clog it by noon.
- Offer two seed options max. More than two and guests spend 8 minutes deciding, which kills your throughput.
- For kids under 8, pre-load the mold with pulp so they skip straight to the seed-pressing step. They love that part and it keeps the station moving.
- Spring and fall are the strongest seasons for this station — the planting story lands naturally. Mid-summer is fine, but guests need a nudge ("keep it in the fridge and plant it in September for a fall sow").
- If you're looking for another station that tells a memorable story and works across all ages, a seed paper card kit pairs beautifully alongside a friendship bracelet station — together they cover every age group walking through your door during shop hop week.
- One more failure mode worth flagging: cards that are too thick don't dry overnight. Aim for pulp layers about 3mm thick — hold the mold up to the light after lifting and you should be able to see your fingers faintly through it.