Last Updated on May 12, 2026 by admin
What this is
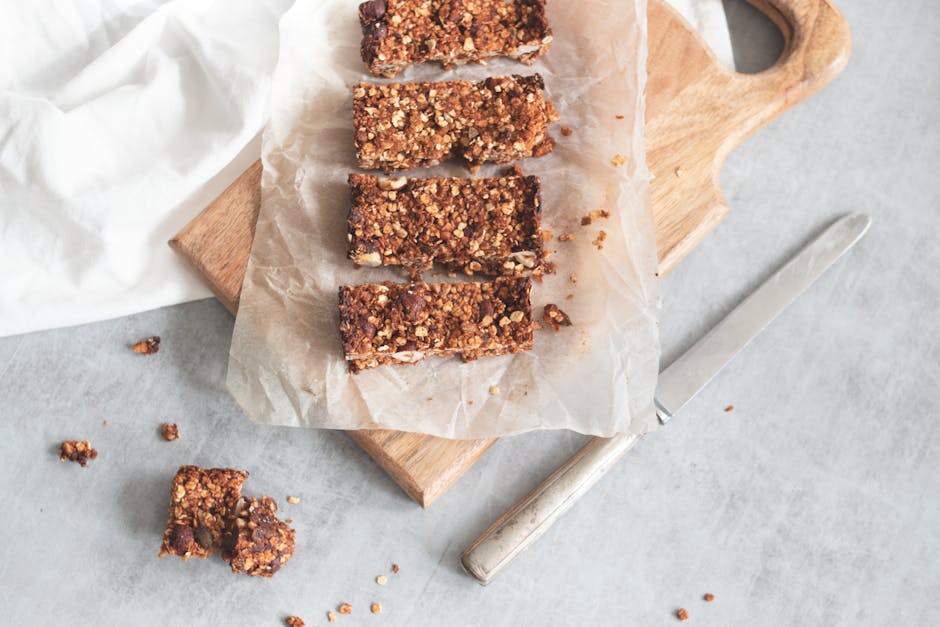
Guests mix a small portion of rolled oats, a honey-based binder, nut butter, and a handful of mix-ins in a personal bowl, press the mixture into a silicone bar mold or a lined mini loaf pan, unmold it, and wrap it to carry out. The whole thing takes 15 to 20 minutes. It skews well with adults 25 to 55 and curious kids 8 and up.
Ingredients to Stock: Oats, Binders, and Mix-In Options
Five core items – build a mix-in bar around them. Bob's Red Mill old-fashioned rolled oats are a reliable base — they're widely available, allergen-labeled, and guests recognize the brand. For binders, warmed honey works best because it stays pourable at room temperature for about 45 minutes before it stiffens. A neutral nut butter like Smucker's Natural Peanut Butter or sunflower seed butter (for nut-free shops) rounds out the sticky structure.
Per-station supplies:
- Rolled oats (old-fashioned, not quick-cook) — ½ cup per guest
- Honey — 2 tablespoons per guest, pre-measured into small squeeze bottles
- Nut butter or sunflower seed butter — 1 tablespoon per guest
- Mini chocolate chips, dried cranberries, or shredded coconut — 1 tablespoon each, in small shared ramekins
- Silicone granola bar mold (6-cavity, roughly 4×1 inch) — 1 per two guests, or one cavity per guest
- Small mixing bowls, one per guest
- Silicone spatulas or wooden craft sticks for pressing
Setup supplies:
- Squeeze bottles for honey (6-ounce, reusable)
- Sheet of parchment paper per station for unmolding
- Small cutting board or tray for pressing if skipping molds
Optional add-ons that guests love: chia seeds, mini M&Ms for the kids, crushed pretzels for a salty-sweet bar. Set these out in labeled shot glasses so the station feels curated rather than chaotic.
Molds vs. Press Bars: Shaping the Granola Without an Oven
The silicone mold route is cleaner and faster for a shop hop crowd. Guests fill one or two cavities, press firmly with a craft stick, and the bar pops out in about 3 minutes if you've pre-chilled the molds in a cooler or mini fridge. Wilton makes a six-cavity bar mold that costs under $10 retail and holds up through a full day of use.
The free-form press method works if molds sell out or you want a rustic feel. Line a small section of parchment, drop the mixture down, fold the parchment over it, and press hard with the flat of your hand. Unwrap, and the bar holds its shape surprisingly well once the honey cools. The failure mode here: guests don't press firmly enough and the bar crumbles at the wrap. Press like they're trying to flatten it through the table. |
If the shop runs warm (above 75°F), the honey binder gets soft and bars won't firm up before guests leave. A small countertop cooler or even a bowl of ice under the mold tray fixes this in about 4 minutes.
How to Pre-Portion Ingredients So the Station Runs Itself
- Measure oats into individual 4-ounce kraft paper cups the night before. Stack them in a box. You want at least 30 pre-portioned cups for a busy Saturday.
- Fill squeeze bottles with honey. Warm the honey slightly in a double boiler or microwave before pouring — cold honey won't squirt evenly and guests get frustrated fast.
- Scoop nut butter into a communal bowl with a small spoon. One tablespoon per guest is plenty; set a measuring spoon right in the bowl so guests self-police.
- Label every ramekin of mix-ins with a small tent card. Include allergen info. "Contains peanuts" or "nut-free zone" takes 30 seconds to write and prevents real problems.
- Set out one silicone mold per two seats. Pre-chill if possible.
- Put a trash cup at every seat for wrappers and stray oats. This sounds obvious, but skipping it means you're sweeping oats off the floor every 20 minutes.
That's the full prep. Run it with one staff member floating to answer questions and re-stock mix-ins. Two staff if there are more than 8 seats running at once.
Walk-Through for Guests
- Guests sit, find their pre-portioned oat cup, and choose two or three mix-ins from the ramekins.
- Squeeze the honey over the oats — two full seconds of squeezing is the right amount. Guests always under-squeeze on the first try; coach them here.
- Add a spoonful of nut butter directly into the bowl.
- Stir everything together with the craft stick until the oats are evenly coated. About 60 seconds of real mixing, not a gentle swirl.
- Scoop the mixture into one or two mold cavities and press firmly. This is the photo moment — the pressing step looks satisfying and guests almost always pause to snap a picture of the filled mold.
- Wait 3 to 4 minutes (or pop into a chilled spot) for the bar to set.
- Pop the bar from the mold onto parchment, then proceed to the wrap station.
Wrapping and Labeling Finished Bars for the Walk Home
Keep the wrap station simple. Pre-cut 8×8 inch squares of parchment or wax paper and stack them in a little pile at the end of the table. Guests set their bar in the center, fold the sides in like a burrito, and fold the ends under. A 1-inch strip of washi tape seals it.
The label is what helps make it memorable. Print a small sticker — 2-inch rounds work perfectly — with theshop name, the date, and a line like "made by you at [Shop Name], Make & Take Week 2026." Avery 22807 round labels run through any standard laser printer and cost almost nothing per sheet. Guests stick the label on the washi tape closure and walk out with something that looks intentional rather than improvised.
One more thing worth knowing: wrapped bars are shelf-stable at room temperature for about 2 days, longer if refrigerated. Tell guests that at pickup. It's a small detail that makes the take-home feel more useful than a craft they'll set on a shelf.
Why customers come back for this
A granola bar is one of the few make-and-takes that guests actually consume, which means it shows up in real life again the next morning. That daily-use factor keeps your shop name in the rotation long after the event ends.