Last Updated on May 7, 2026 by admin
What This Is
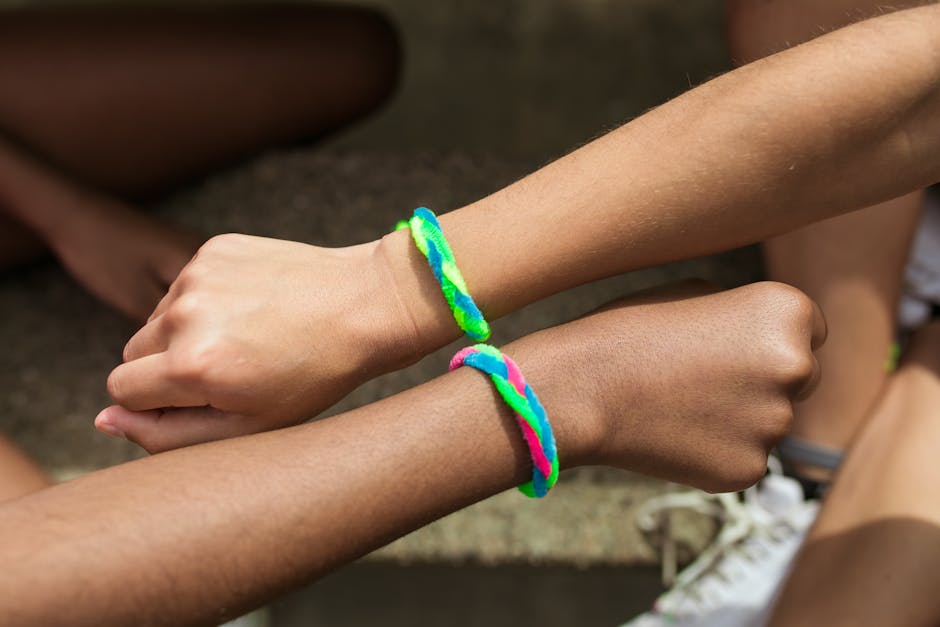
Guests choose 3 colors of embroidery floss from a self-serve color bar, sit down at a station, and braid or knot a friendship bracelet in 15 to 20 minutes. It works for ages 6 and up, appeals equally to kids, teens, and adults, and requires almost no help from staff once the station is set up.
Supplies
Per-station (seats 4–6 guests at a time):
- Embroidery floss (DMC or equivalent — stock at least 20 colors, 1–2 skeins each)
- Clipboard or foam board squares (one per seat, for anchoring the bracelet while knotting)
- Binder clips or alligator clips (one per clipboard)
- Pre-cut floss strands, 60 inches long (bundle 3 strands per set, held with a loose rubber band)
- Laminated instruction cards — one per seat, two versions: braid and chevron knot
Setup:
- Small baskets, jars, or cups to organize floss by color on the color bar
- Color label cards (handwritten or printed — just the color name or a swatch)
- Timer or small hourglass (optional, for managing seat time during peak hours)
- Scissors (2 per table, for trimming ends)
Optional:
- Pre-made example bracelets displayed at eye level
- Small branded cards for guests to tuck into finished bracelets
- Rubber bands (extra, for the under-7 crowd who struggle with the anchor clip)
Setup
- Cut floss into 60-inch strands before the event — bundle sets of 3 strands by color and secure each bundle with a loose rubber band so guests can grab one and go.
- Arrange color bundles in small jars or baskets along one side of the table or a separate surface; label each container with the color name or a painted swatch card.
- Clip a binder clip to the top edge of each clipboard and set one at every seat.
- Place a laminated instruction card at each seat — braid version on one side, chevron knot on the other.
- Set out 2 pairs of scissors per table and a small cup of extra rubber bands at one end.
- Put a short directional sign at the front of the station: something like "Pick 3 colors, grab a clip, find a seat."
- Set a timer or hourglass at the station if you're expecting heavy foot traffic and want guests to self-manage their time.
Walk-Through for Guests
- Guests approach the color bar and choose 3 colors of pre-cut floss bundles.
- They take a seat, clip their floss bundle to the binder clip at the top of their clipboard, and spread the strands out flat.
- They check the laminated card: younger kids follow the 3-strand braid steps, older guests or confident beginners try the 6-strand chevron knot on the reverse side.
- Guests work through the pattern at their own pace — the card keeps most people self-sufficient without staff help. (Great photo moment: bracelets mid-knot on the clipboard.)
- When the bracelet reaches wrist length, they trim the ends with the scissors and tie it off with a simple overhand knot.
- Staff or the guest ties the bracelet on at the wrist — this is a natural moment for a photo and a conversation. (Second great photo moment: the finished bracelet going on the wrist.)
- Guests take their bracelet and move on; the seat resets in under 60 seconds.
Tips & Variations
- Pre-cut all floss before doors open. Doing it live during the event eats time you don't have.
- Offer a "premium bundle" upgrade with metallic or specialty floss (like DMC Light Effects thread) for guests who want something a little different.
- For kids under 7, swap the binder clip for a rubber band loop anchored to a door handle or chair back — easier for small fingers.
- Limit seat time to 20 minutes during peak shop hop hours. A small hourglass on the table makes this feel friendly, not rushed.
- Reserve 1 or 2 seats specifically for walk-in kids with parents — families often need a spot immediately or they leave.
- If you have a Sip & Make night planned, add cocktail tables and let guests stand while they braid. It speeds things up and feels more social.
- Restock the color bar every 45 minutes during busy periods — running low on a popular color is the fastest way to lose a guest.
- Staff one person at the station during peak hours whose only job is to help tie bracelets and keep the color bar stocked. That's it.
- For a custom friendship bracelet station that really runs itself, the color bar layout is the key detail — get that right and everything else follows.
Connecting Your Bracelet Station to Your Brand and Storefront Story
Your bracelet station doesn't have to feel like a random craft activity dropped into your shop. A boutique clothing store can pull the color bar directly from the season's palette — dusty rose, sage, and cream in spring, burgundy and forest green come fall. A bookstore could name color combinations after beloved characters. A home goods shop might use the station as a reason to show off their table styling — nice baskets, coordinated label cards, a linen runner under the color bar.
Small visual choices matter more than you'd think. Put a card at each seat with your shop name, your Instagram handle, and "made here during Make & Take Week" — every bracelet that walks out the door is a reminder of where they spent an afternoon.
And if you want to go further, a seed paper card kit station pairs well alongside a bracelet table. Guests who finish early can make a card to go with the bracelet. Two stations, one cohesive experience, and the foot traffic between them keeps both areas feeling lively.
Why Customers Come Back for This
Friendship bracelets carry a memory for almost everyone who makes one. The person who sits down for 15 minutes often leaves wanting to bring their daughter, their coworker, their book club — and that's the kind of word-of-mouth a shop hop station is built to generate.